How to take memorable landscape images with your iPhone
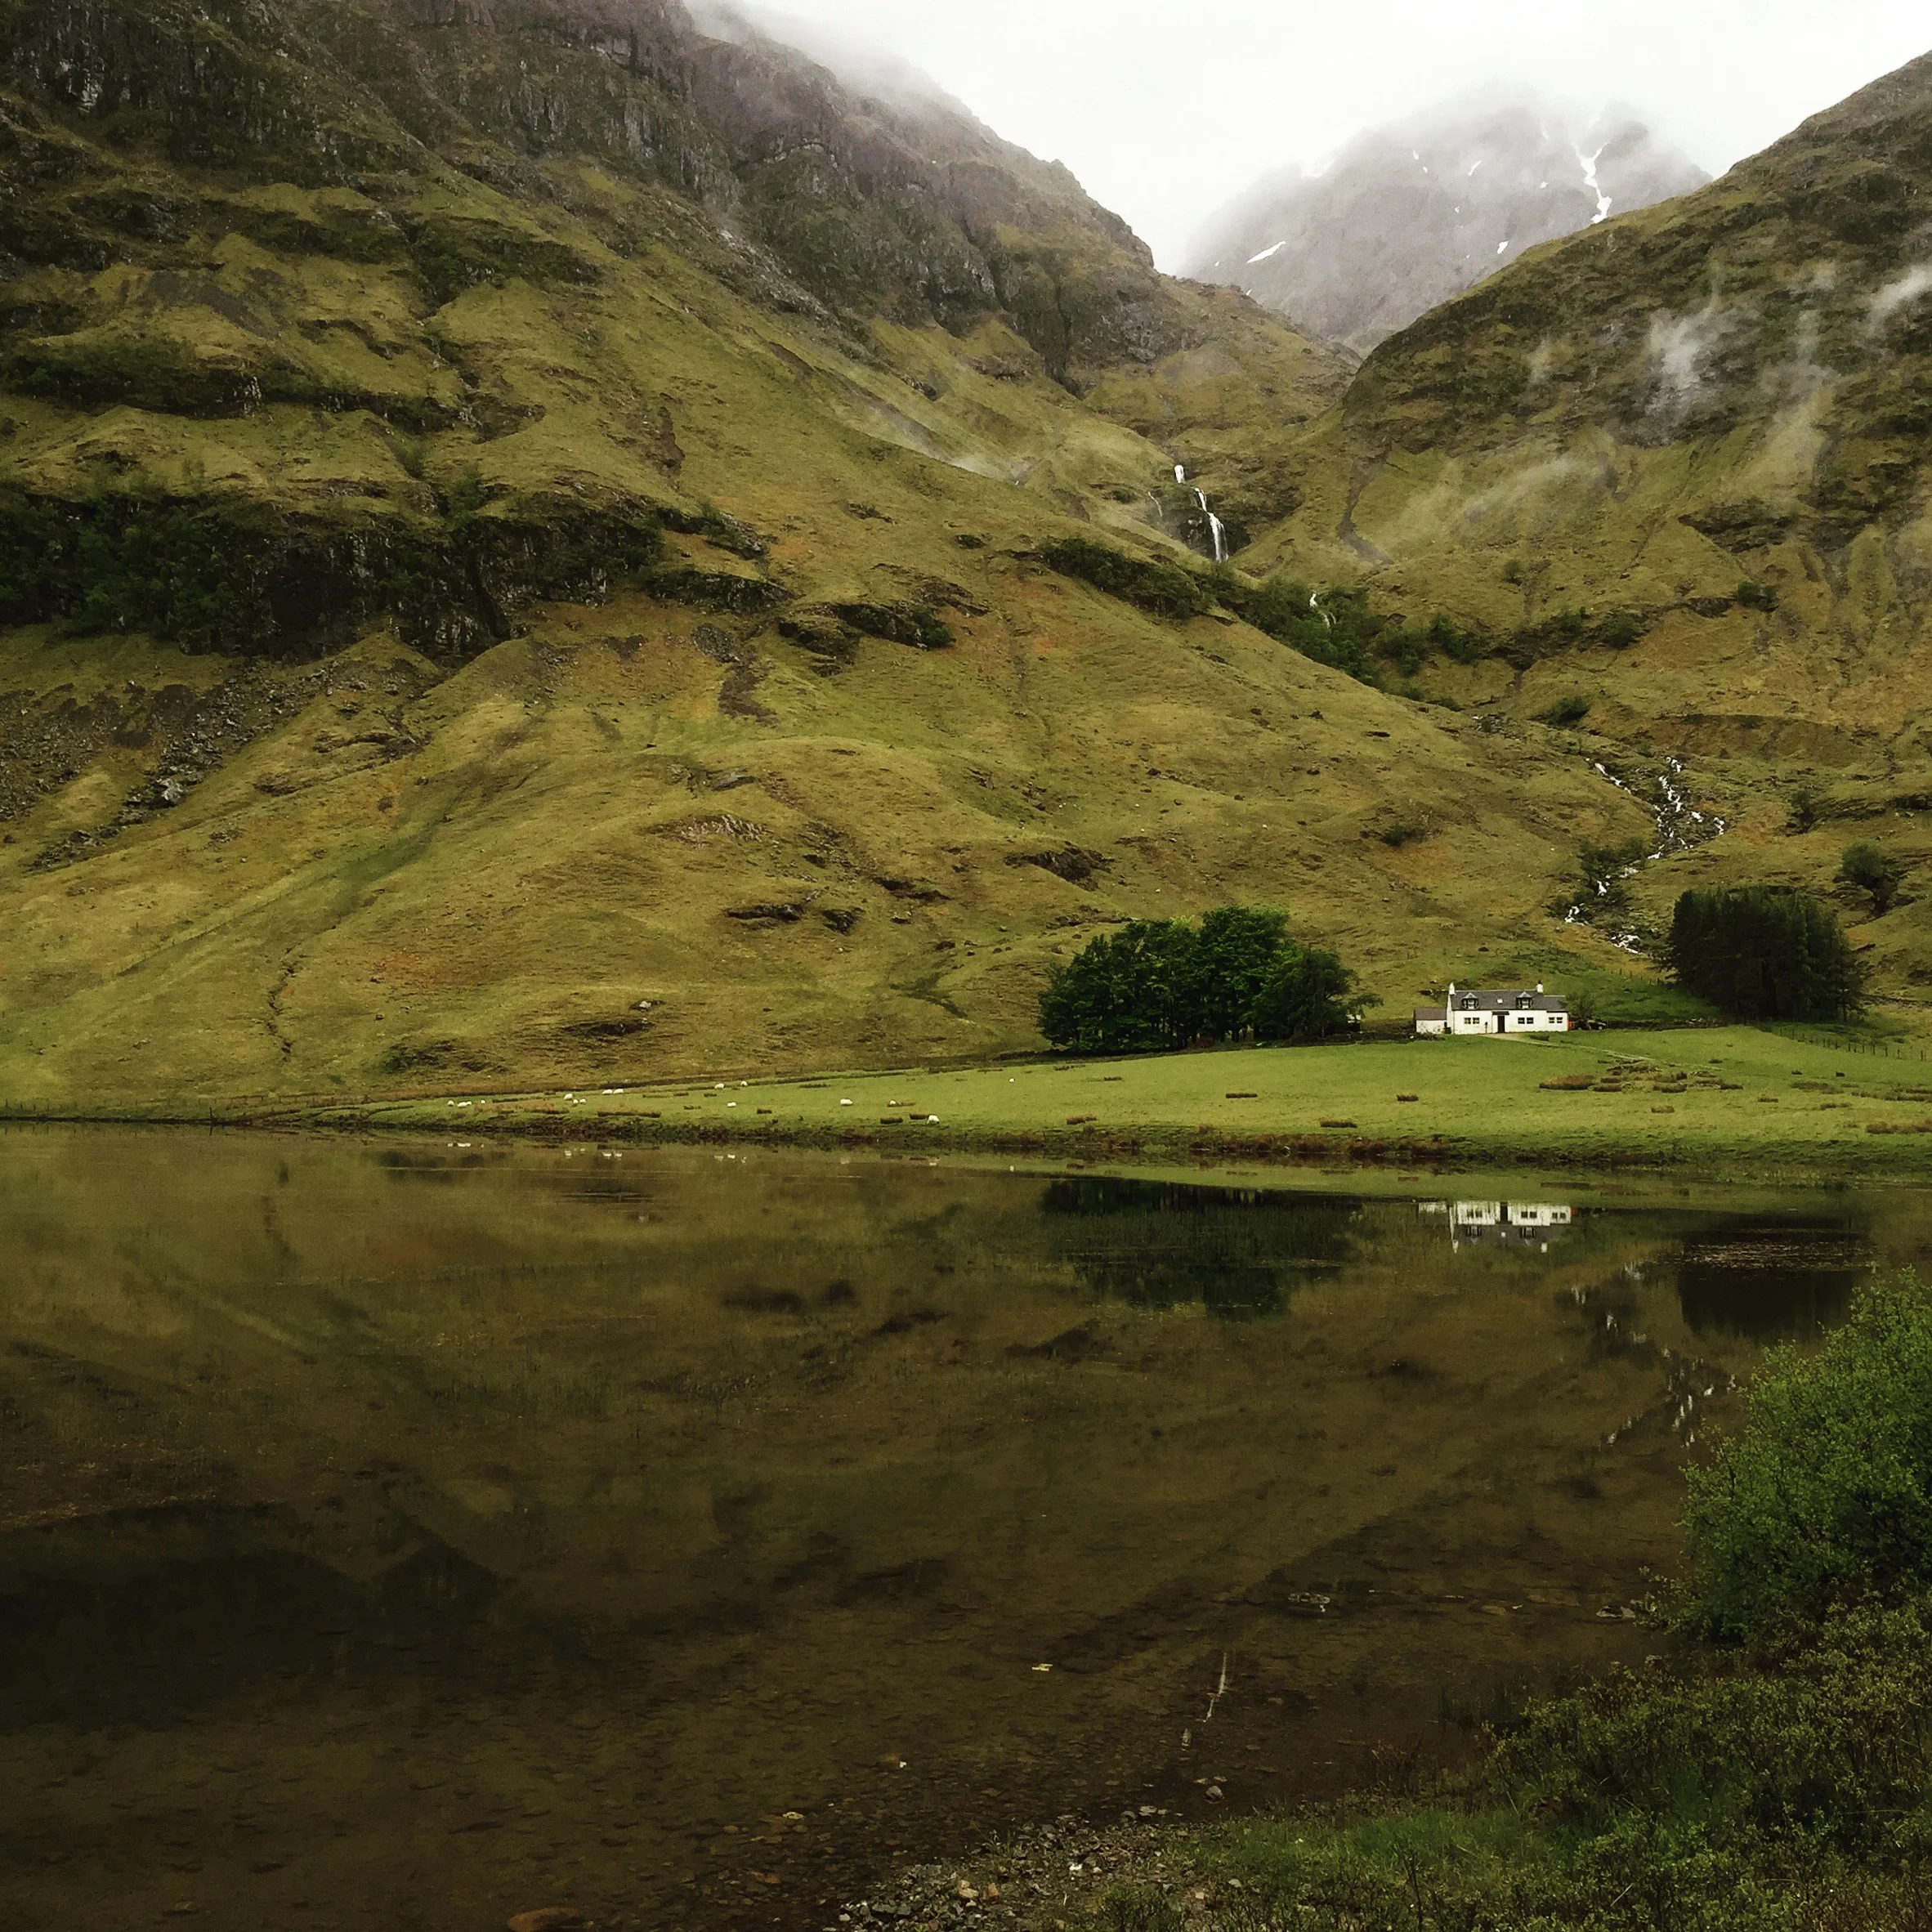
Glencoe, Scotland iPhone 6

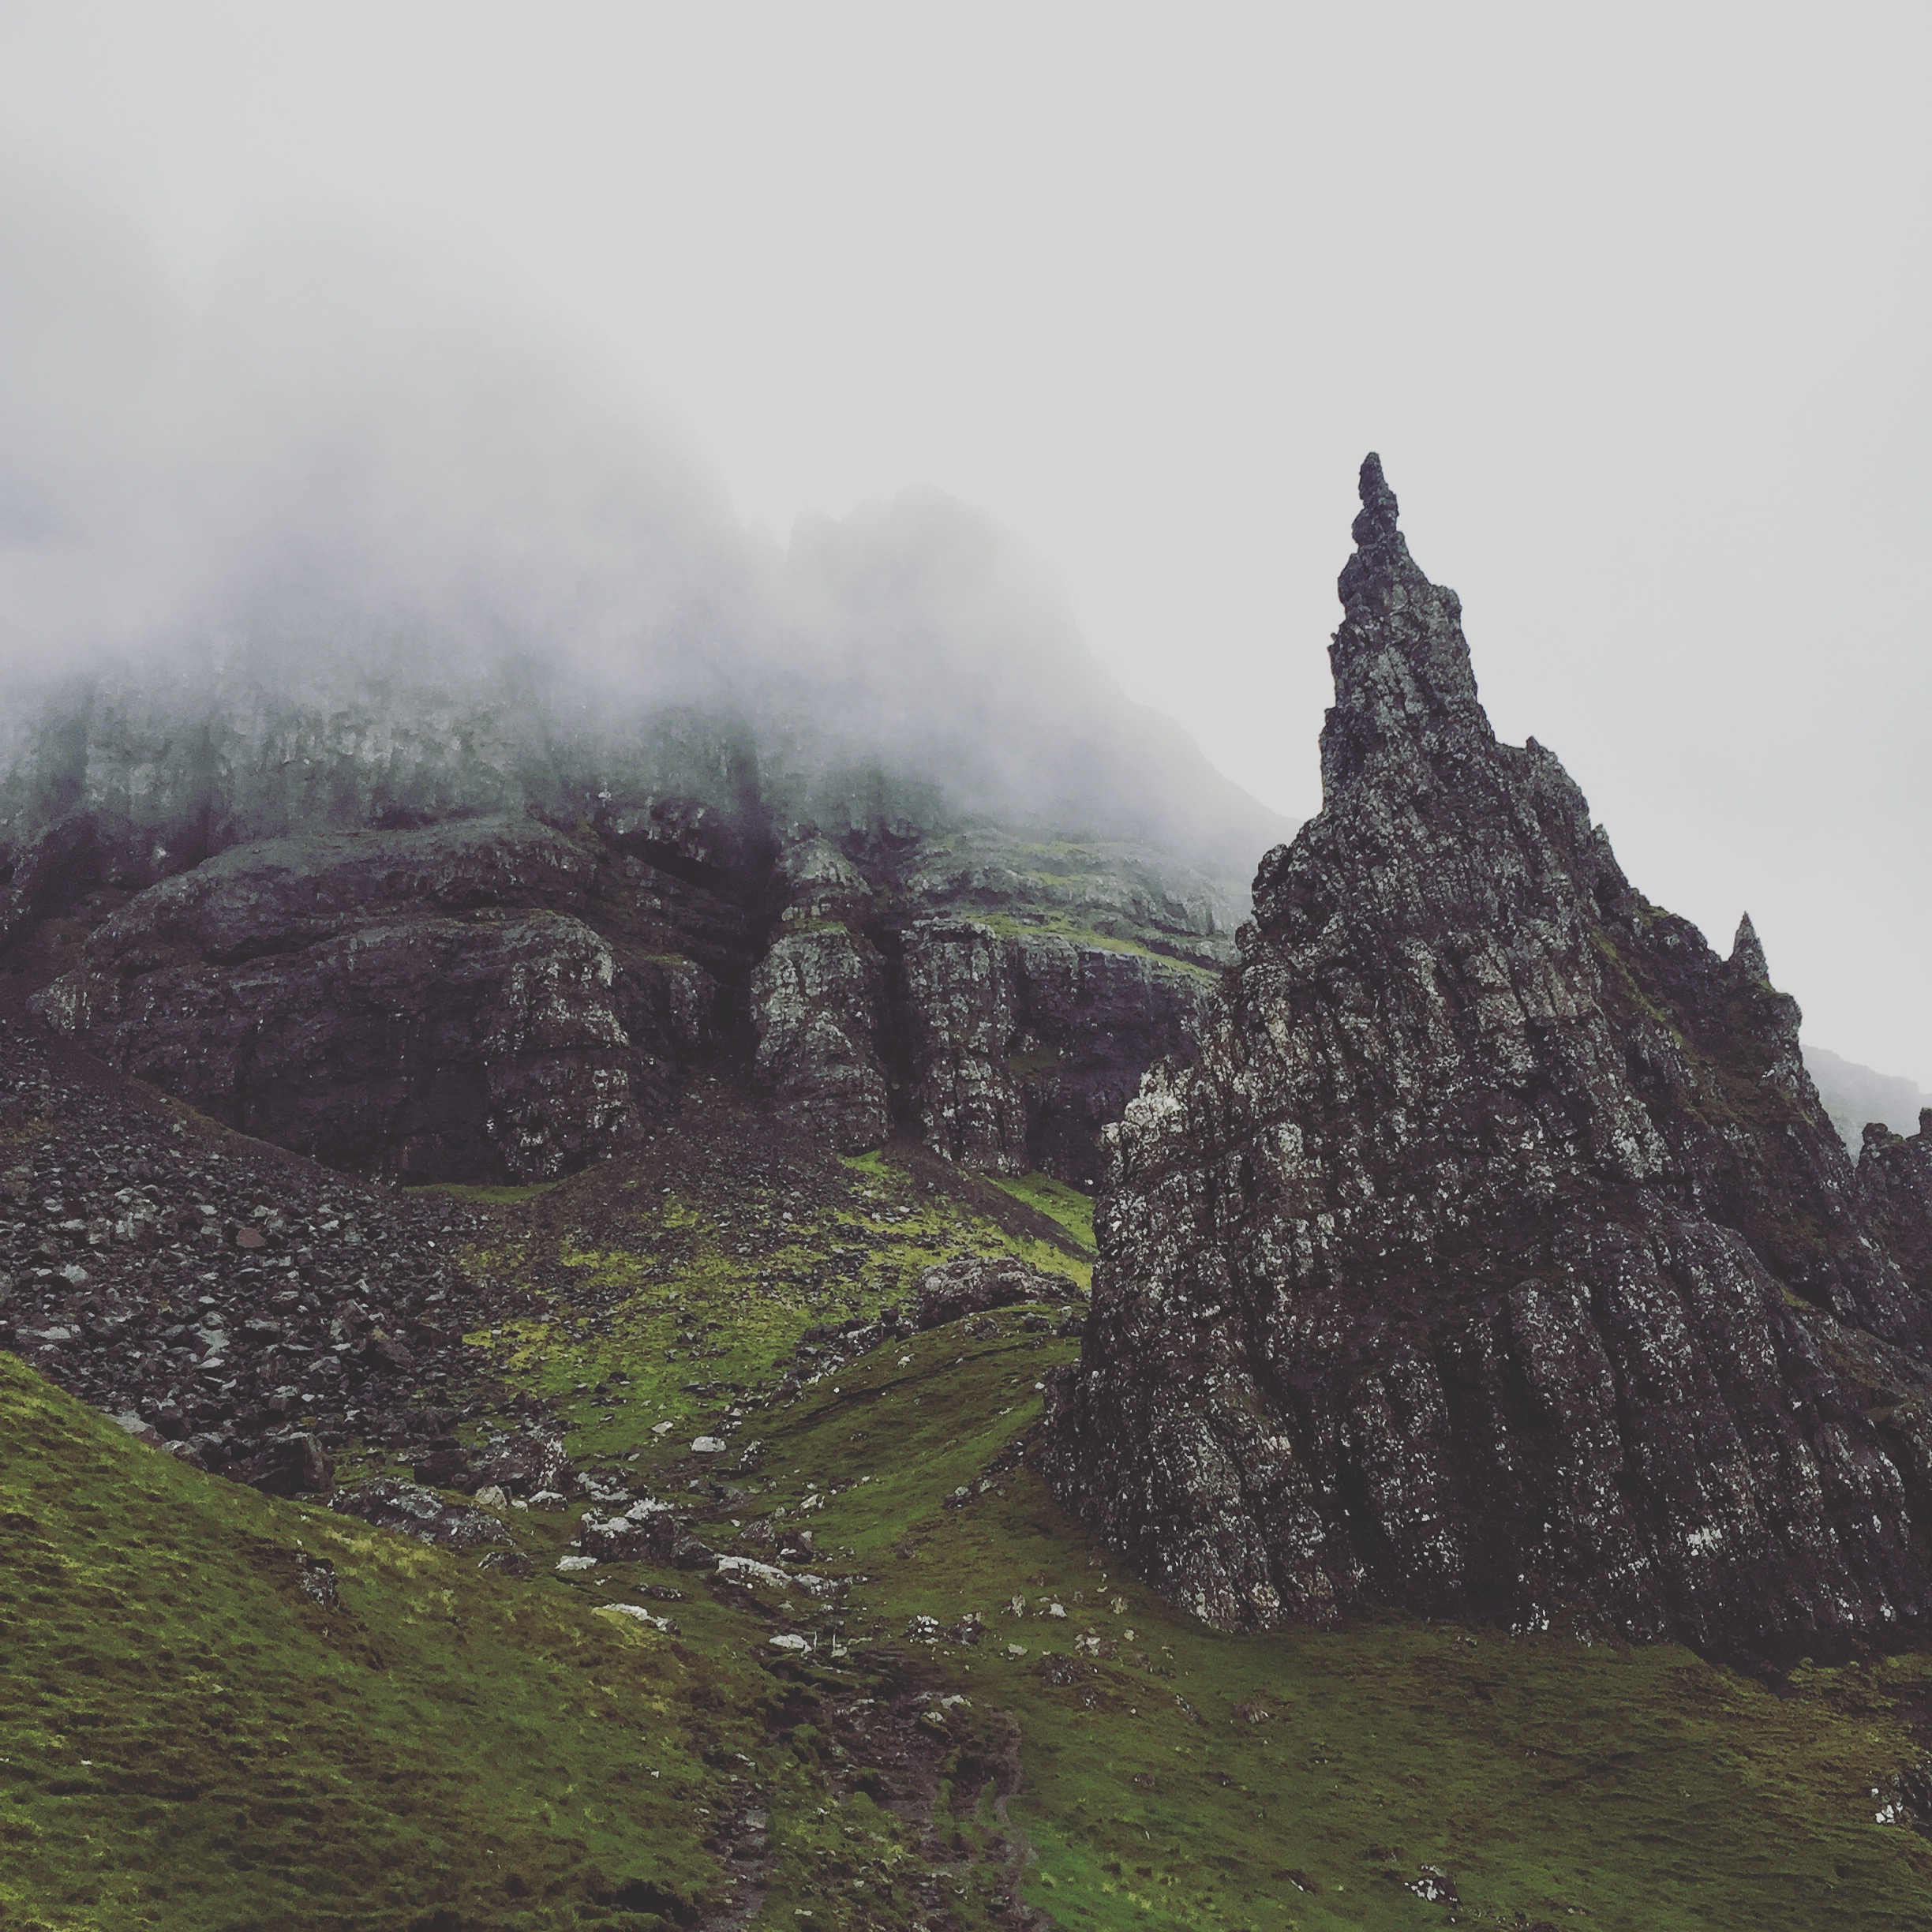
Aberdeenshire, Scotland iPhone 6
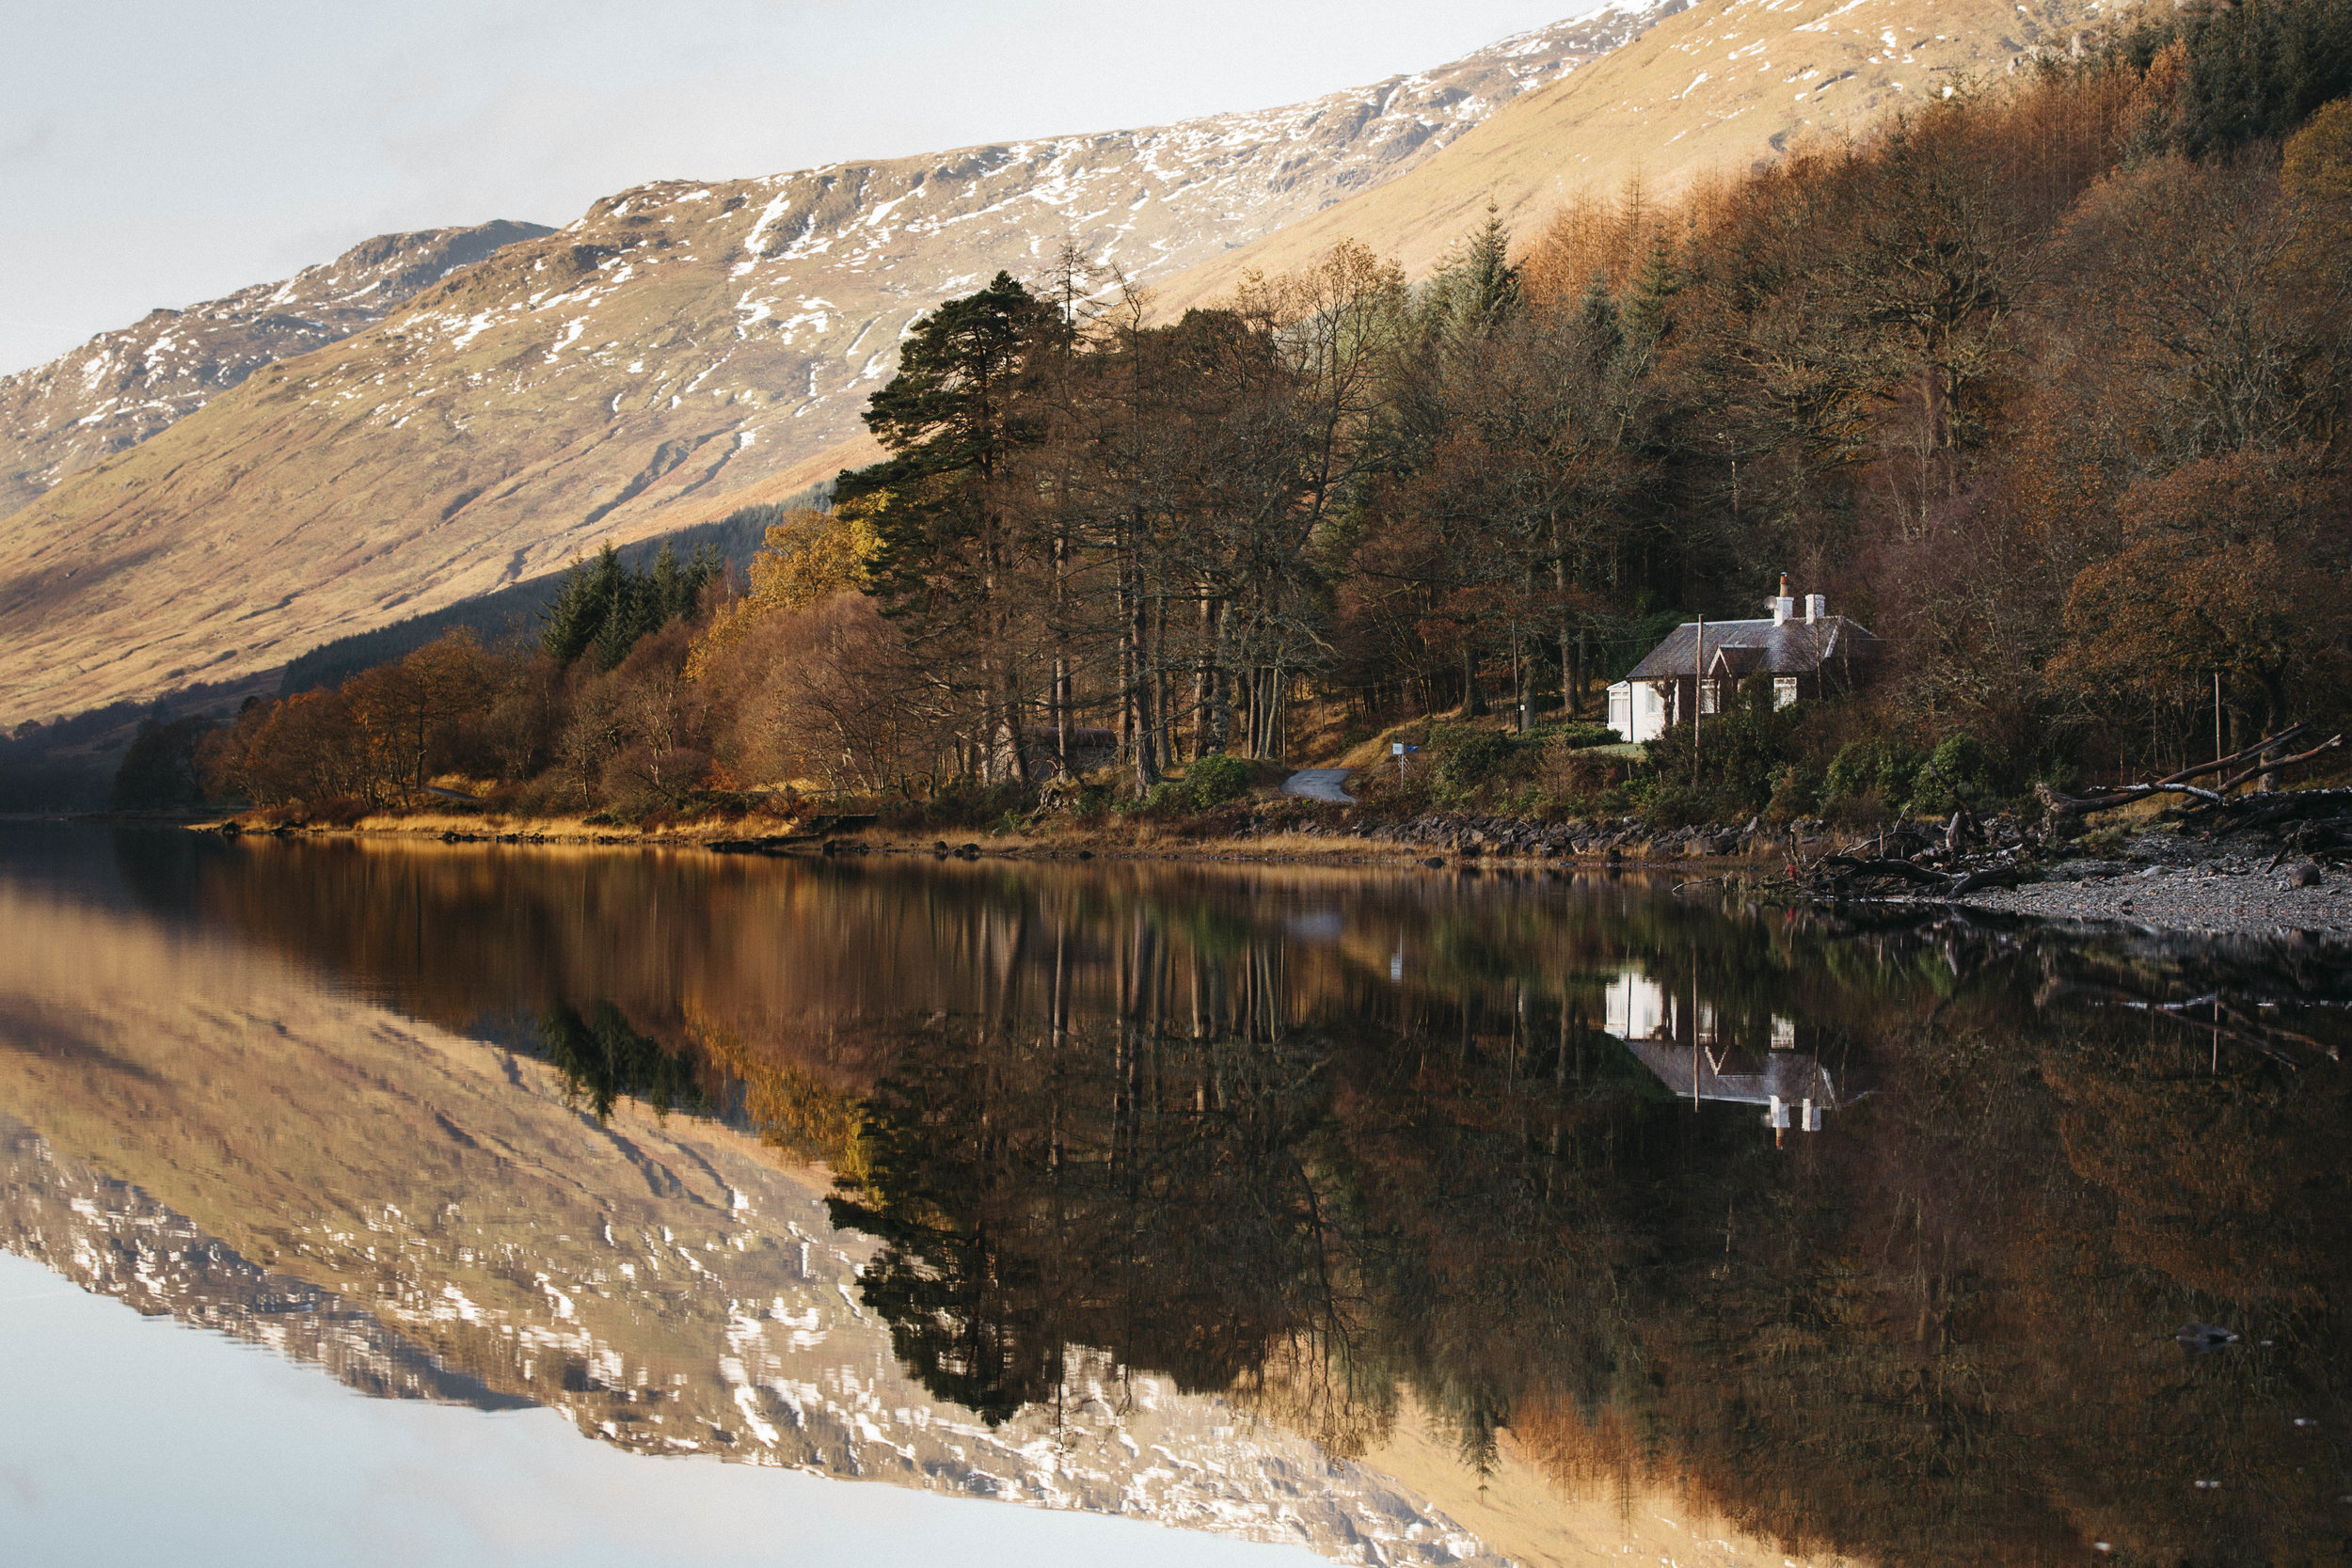
Glencoe, Scotland, iPhone 6

Luskentyre Beach, Isle of Harris, iPhone 6
There are no magic secret formulas here. Taking great landscape photography on your mobile device is down to a combination of things. Topping that list, in my opinion, is intuition. Spotting a 'photographic scene' that others would just walk by. The more you practice and get out there and shoot, the better you will become at this bit. I've never believed myself to be creative but over the years I've come to realise that creativity is like anything else, work hard at it and you will improve. Expecting it to come naturally is setting yourself up for failure. Here are some more suggestions for how to improve your own mobile landscape images and create that wow factor:
Shoot from many different perspectives
When first starting out, people tend to shoot straight on from eye level. But to stand out, you need a unique vantage point. Get low, get high, shoot close, move away. In summary shoot, shoot, shoot and when you get home, looks at all your pictures to see which ones work/ stand out. Study other photographers work and evaluate where they shot from . Look at award winning photographs (Landscape Photographer of the Year/ National Geographic Travel Photographer of the year/ Scottish Landscape Photographer of the Year). What makes their images stand out? Try inserting a location that you know well into google and reviewing the images that come back. Were they all shot from the same perspective?

This is the famous Quirang Road on the isle of Skye. It's been photographed many, many times. I wanted to put my own stamp on it so climbed up and shot down. It helps that l have a very photographic camper van and a willing husband to my photography adventures.
iPhone 6
Composition
Be clear about what your subject is first. Once you have established this, look at how the surrounding elements can help highlight your subject.
Leading Lines
These help guide your viewer's eye through the frame drawing their attention to what is important. Leading lines add depth to your image creating more of a 3-dimensional viewer experience. Look for fences, roads, paths, shadows, contrasting colours, walls, light and dark contrasts etc to use as leading lines when composing your shots.

Arisaig, iPhone 6
The curve of the water line draws the viewers eye right through the frame and torwards the sunset. Many organic 'lines' can be found in nature.

Ardnamurchan, Scotland, iPhone 6
In this image, it is the curve of the road that is the subject. The viewer's eye is drawn deeper into the frame and the fog and disappearing road add to a sense of mystery.
2. Creating depth
We have already touched on using lines into your image as a way of creating depth, another way to do this is to include foreground detail. E.g rocks, trees, branches, wildflowers. By including these elements, the image becomes something that your viewer feels they can step into. The image becomes more life like.

Iona, Scotland, iPhone 6
Here the rocks in the foreground provide another layer of visual interest, creating more depth in the scene.

Isle of Skye, iPhone 6
Another example of adding foreground interest to give the viewer a sense of the vast scenery.
3. Negative Space
This refers to any space that isn't your subject. It can be used to add balance, to provide context and a sense of scale. Negative space can also be utilised to simplify your scene creating a minimalistic feel.

Luskentyre, Isle of Lewis, iPhone 6
Camera phone pointed down. It gives the viewer a sensation of being at the beach. You can almost feel the waves movement. The inclusion of only two elements, one of which takes up most of the frame, simplifies the image.
4. Framing
What looks like an ordinary scene can be made memorable with the inclusion of a frame. I look for natural frames: foliage, bridges, trees, and hedges. Occasionally I'll use a tent or a building to frame the outside view.

Braemar, Scotland
iPhone 6

Stay Pollaidh, NW Highlands, Scotland
iPhone 6
5. Reflections
Look for reflections, whether it be in lochs, ponds, rivers, puddles or even something like sunglasses. They provide visual interest and balance. Always ensure your horizon is straight (an easy fix in Instagram's editing tool).
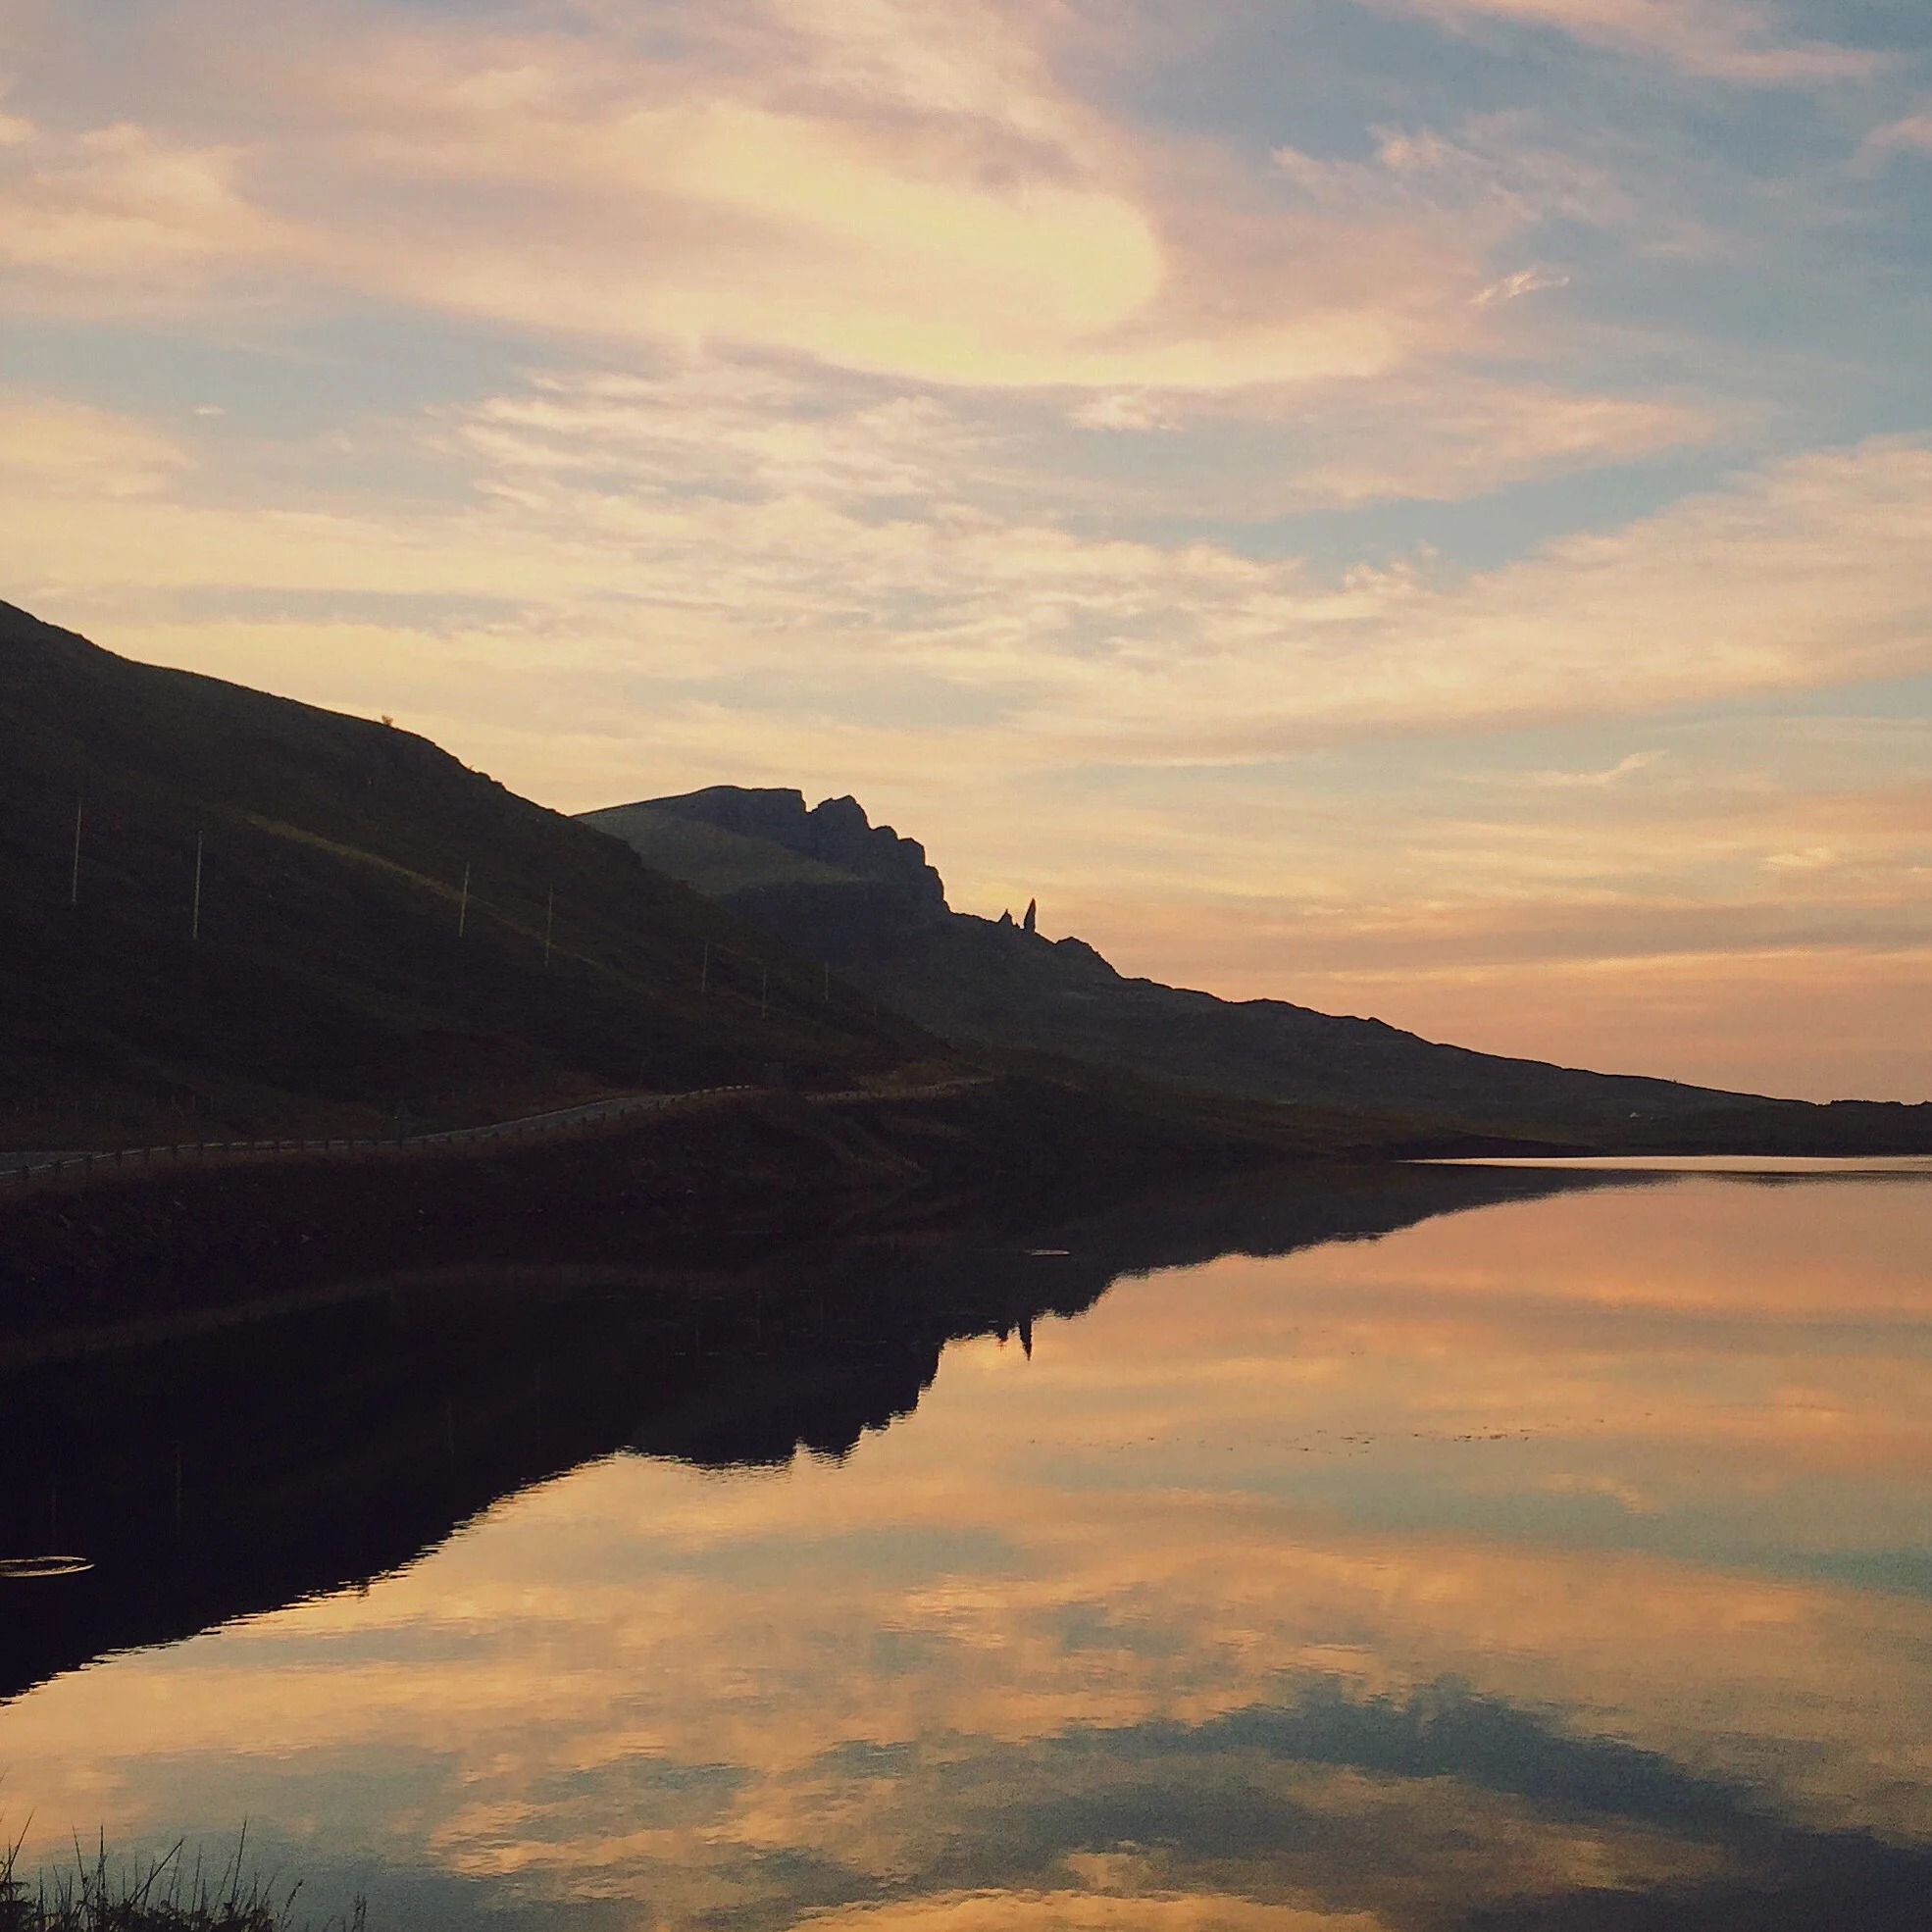
iPhone 6, Isle of Skye
The use of the water and the sky help provide balance and create some beautiful symmetry.
Capturing a mood
This is what l believe truly sets great photographers apart. How do you capture the essence of a place? How do you transport your viewer right there? Photography, like music, has the power to make people 'feel'. In order to convey it in your images, you first need to work out how it makes you feel. This will change depending on the weather, the season and your current state of mind. It will be difficult to convey emotion to your viewer if you do not have an affinity with your subject. My strongest images are of my children and the Scottish Highlands. I have a deep love for both. I experiment with other genres and other locations but I don't have the same zest for it and it shows in the resulting work. Find what makes your heart soar and work from there. If you don't know what that is yet, just keep experimenting until it comes to you.
Before shooting, take the time to absorb the scene in silence.

This image was shot on the morning after an extremely cold night. As the sun rises, it heats the ground resulting in a sort of steam rising from the forest floor. I felt a deep sense of spirituality and peace being in the woods that morning which is what l have tried to convey here. Note that getting down low allows more of the light tendrils to fill the frame, giving them more presence. Shooting straight on would not have created such a memorable image.
iPhone 6
Editing can also help enhance the mood you are trying to convey. I often use the VSCO editing app to further amplify the dramatic and moody feel of Scottish landscapes.

Neist Point, Isle of Skye
iPhone 6

Scottish Highlands
iPhone 6

Dunottar Castle, iPhone 6
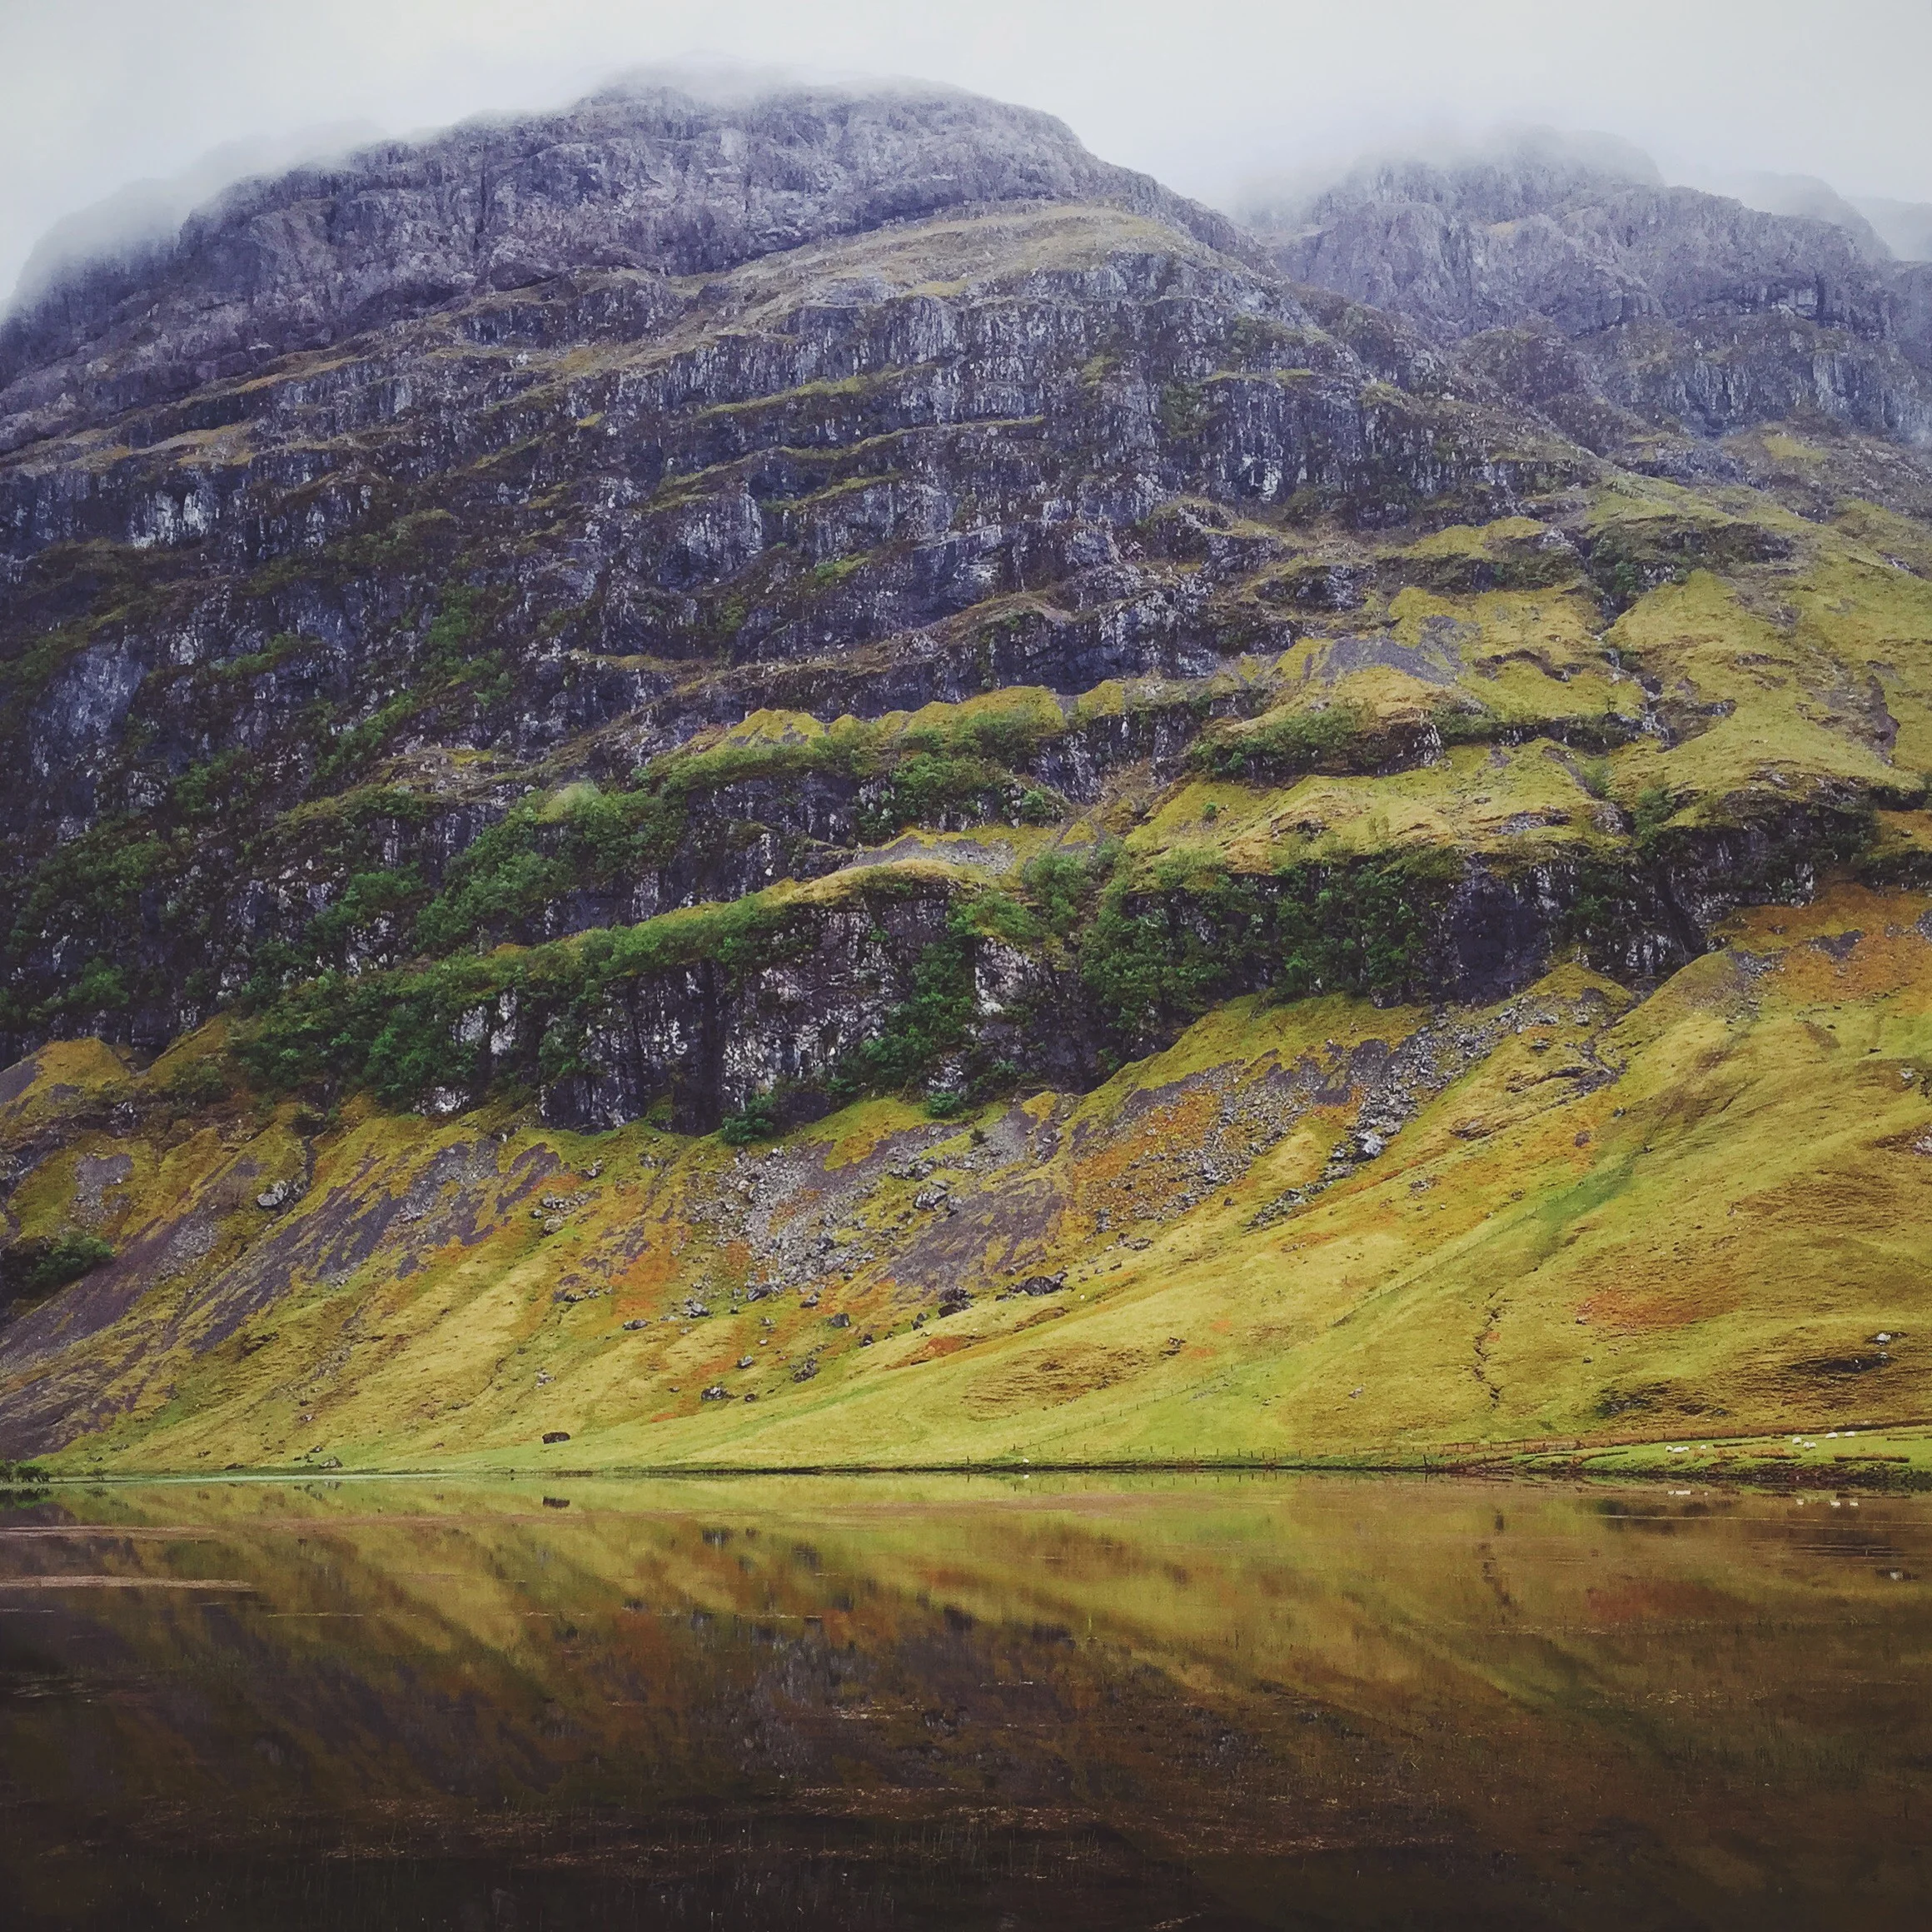
Weather
Don't put your phone away when the weather gets bad. The advantage with iPhones is that they are easier to protect than large DSLR's. I am much more inclined to shoot with my iPhone over my large camera in unfavourable conditions. It's easier to keep the small lens free of rain or clean it if it gets wet/ grimy. Avoid including overcast skies in your image and instead fill the frame with your subject. I particularly like trying to capture the sky just before or after a storm. The dark and brooding clouds are full or drama and add incredible atmosphere to images.
Quick shooting tips
- If shooting in low light, use a tripod with adaptor for your phone or prop it up on a wall/ books etc. Set the timer for the picture. This will avoid camera blur and minimise noise in your image.
- Underexpose to retain the brightest details in your image. In a standard exposure, the camera will often blow out portions of the sky - meaning that you lose all detail. To avoid this, tap on the brightest part of your image and underexpose to retain details. You can raise the exposure in the darkest elements of your frame in post-processing.
- Use an editing app. Instagram's editing tools, Snapseed, Photo Plus, VSCO etc.
- Don't use the zoom tool on your phone. It greatly reduces the quality of the image. Instead, zoom with your feet.
- Share your images to get feedback.
Come back soon for another article solely concentrating on the power of LIGHT in your images. I'll have lots of tips and hints and some exercise for you to try.
Thanks for reading.